Image tutorial for creating a segmented woodturning walnut vase with a glass bottle in it
----------------------------------------------------------------------------------------------------------------------
Tips for segments calculation for open segmented turnings (no formulas needed :) )
 |
| Fir-Walnut boards |
Cutting the segments
Gluing the rings
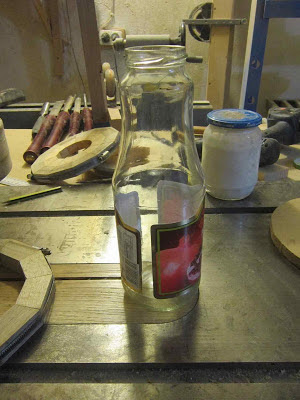
Glass bottle
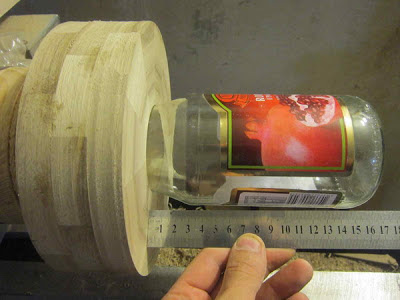
Try inner diameter
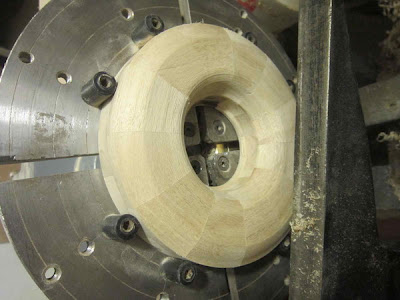
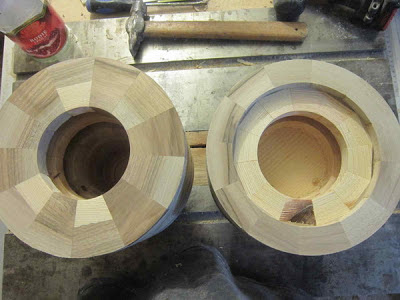
The two parts of the walnut vase
Press the two parts of the vase
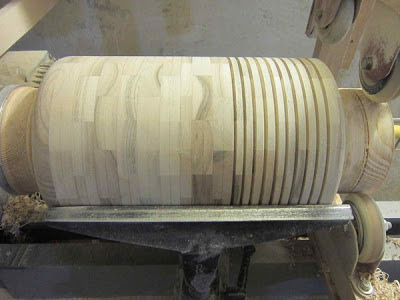
Give it the form
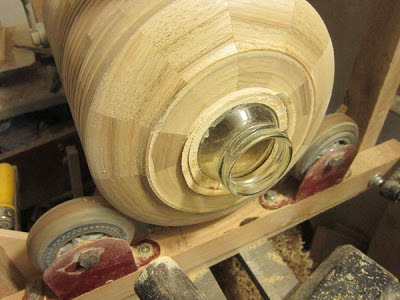
Here is the glass bottle :)
 |
| Preparing the last top ring |
You can see the final vase here.
----------------------------------------------------------------------------------------------------------------------
Tips for segments calculation for open segmented turnings (no formulas needed :) )
If you'll try to search on the web how
to make the plan of an open segmented turning vessel, you'll find everywhere
different complicated formulas and software which should be used, but in
deed you don't have to be a strong mathematician to calculate the angles,
lengths, widths and depths
of the pieces that make up a segmented glue-up.
Below you'll see a easy way how to calculate the dimensions of the segments, no matter how complicated your project may be.
So let's say we want to make a vase or a lamp which has a profile shape as in the drawing below using the open segmented method. In the given example a level has 16 segments and 16 open spaces between them. I will show you how to calculate the size of the segments for each level through geometric methods.
I usually design the size of the opens and segments so that each open should not exceed 1/3 of the width of a joined segment so that the final piece be strong and durable. Also very large gaps reduce the beauty of the vessel.
I usually design the size of the opens and segments so that each open should not exceed 1/3 of the width of a joined segment so that the final piece be strong and durable. Also very large gaps reduce the beauty of the vessel.
So, if we have a ring with 16 segments we have: 360/16 = 22.5 degrees for each pair of segment-open. We draw a circle with the largest radius of the future object, in this case we can consider the large radius of the 7th row.
If we divide again this 22.5 degrees by 4 we get about 5.5 degrees for every open. It's not necessarily to have a protractor to measure the angles, I usually draw them intuitively choosing the fourth part of each "slice".
We highlight the spaces for the opens.
We return to the initial plan and design the small and large radius for each of the 12 rows:
For the small radius we draw the small baze of the future trapezoid in the following way:
Hope these simple hints will help you designing your open segmented woodturning projects.
I'll come back soon with new "how to make" tutorials and suggestions on this topic.





а программки нет случайно для таких росчетов?
ReplyDeleteПрограмы отдельной от той что на этом блоге и не требуется. Расчёты делаются как для цельного кольца но после этого из длины сегмента убирается где-то треть длины, не больше, в зависимости от того на сколько большие хотите увидеть отверстия.
ReplyDeleteThis comment has been removed by the author.
ReplyDeleteдайте пожалуйста программу
ReplyDeletehttp://maderamagique.blogspot.com/p/blog-page_9.html
ReplyDeleteа как ей пользоваться
ReplyDeleteПо картинкам всё должно быть понятно. Задаёте маленкий и большой радиус кольца, нажимаете на Calculate и програмка вычислит необходимые параметры для сегмента.
ReplyDeleteа как вы делайте узоры
ReplyDeleteЭто и есть реальное "Сегментное точение"-делать узоры на тела вращения. Сомневаюсь что какой-нибудь мастер Вам толком об этом расскажет.
ReplyDeleteThis comment has been removed by a blog administrator.
ReplyDeleteДоброго времени суток. Ссылка на прогу не рабочая, пишет страница удалена. Можно рабочую ссылку. За ранее спасибо.
ReplyDeleteК сожалению пришлось удалить калькулятор с блога. Другой ссылки у меня нет.
ReplyDelete